

A camera system usually fails before the first camera goes up. It fails in planning – when blind spots are missed, storage is undersized, cabling routes are an afterthought, or the system is chosen around price instead of site risk. A solid security camera installation checklist helps commercial property owners and facility teams avoid those problems before they become expensive change orders or ongoing security gaps.
For businesses, camera installation is not just about putting devices on walls. It affects incident response, employee safety, liability protection, operational visibility, and how easily your site can scale later. A retail store, warehouse, office, medical facility, and multi-tenant property will all need different camera placement, retention settings, and network planning. That is why the checklist matters – not as a generic worksheet, but as a way to align the system with how the property actually works.
Start the security camera installation checklist with site risk
Before selecting camera models or recorder capacity, define what the system must accomplish. Many commercial buyers start with camera count, but the better starting point is risk. Ask where incidents are most likely to happen, where visibility is currently limited, and which areas would create the biggest operational or legal problem if footage were missing.
For most commercial sites, that means reviewing entrances, exits, loading zones, parking areas, reception spaces, cash handling points, inventory storage, hallways, and any restricted access areas. A distribution facility may care most about dock doors and yard activity. An office may prioritize visitor entry, after-hours access, and interior common areas. A property manager may need broader coverage across shared spaces and perimeter lines. The checklist should reflect the property type, not a one-size-fits-all plan.
This is also the stage to define whether the goal is deterrence, identification, investigation, operations monitoring, or all four. Wide-angle coverage can show what happened, but it may not deliver usable facial or license plate detail. Tighter views improve identification but reduce area coverage. Good system design balances both.
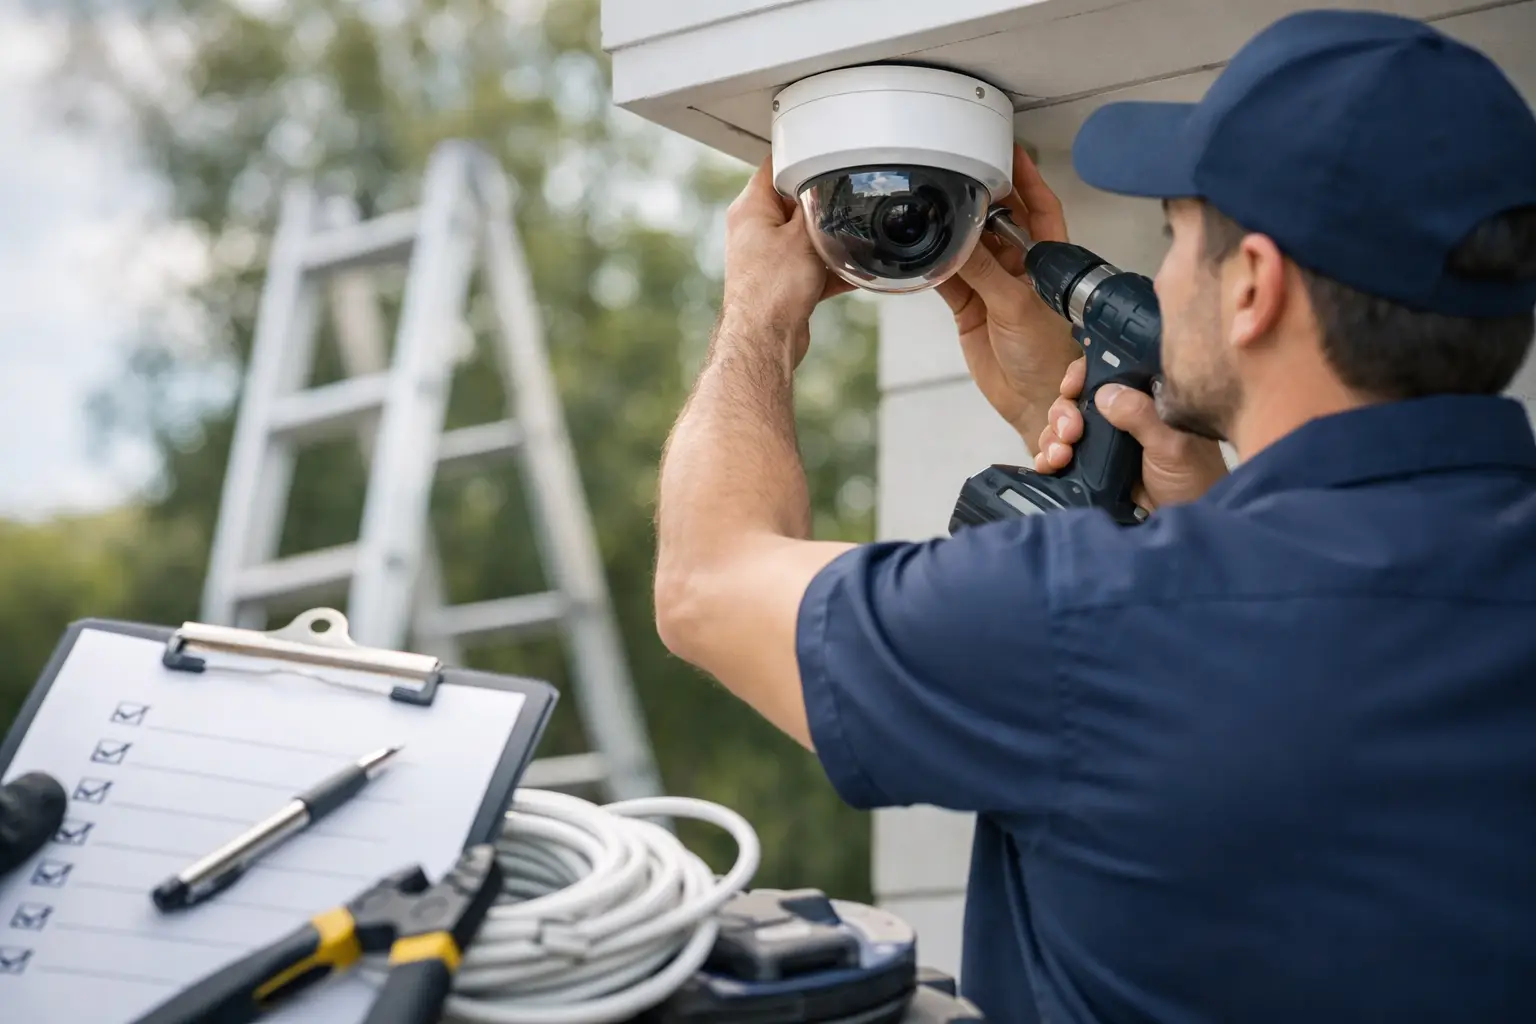
Confirm camera placement before hardware selection
Camera placement decisions should come before final hardware decisions, not after. The right lens, resolution, mounting height, and field of view all depend on where the camera will be installed and what the footage needs to show.
Walk the property and identify mounting points with line-of-sight to the target area. Check for glare from glass, direct sun exposure, low-light conditions, obstructions from trees or signage, and environmental issues like dust, moisture, or vibration. Exterior cameras near truck traffic or warehouse yards often need more durable housings and better low-light performance than interior office cameras.
Height matters more than many businesses expect. A camera mounted too high may give broad coverage but poor identification. Mounted too low, it becomes vulnerable to tampering. Entry points usually need a clear face-level angle. Parking lots may need a mix of overview cameras and targeted views at ingress and egress points. If your site has recurring issues with theft, tailgating, or unauthorized entry, placement should directly address those patterns.
A practical checkpoint here is simple: for each camera, document the purpose, exact coverage zone, likely lighting condition, and whether the view supports recognition or general monitoring.
Check power, cabling, and network readiness
A surveillance system is only as reliable as the infrastructure behind it. One of the most common installation issues in commercial properties is underestimating cabling routes, switch capacity, and power requirements.
Your checklist should verify whether the site will use PoE, local power, or a mixed approach. PoE is often the cleanest option for commercial camera systems, but it still requires switch planning, cable distance review, and proper rack organization. Long runs, detached buildings, parking areas, or gate locations may require fiber backbones, surge protection, or intermediary network equipment.
It is also important to review where the recorder, network video management hardware, and supporting switches will live. The ideal location is secure, climate-appropriate, and accessible for service without being exposed to unauthorized access. If the server room or IDF is already crowded, that should be solved before installation day, not during it.
Bandwidth matters too. High-resolution cameras, remote viewing, and AI video analytics all affect network performance. If the surveillance system shares infrastructure with business operations, voice, access control, or other low-voltage systems, capacity planning becomes even more important. For larger sites in markets like Los Angeles or Ontario, where businesses often occupy multi-suite or warehouse properties, that back-end planning can make the difference between a stable system and recurring downtime.
Review storage, retention, and video access policies
Many businesses buy enough cameras but not enough storage. That creates a predictable problem: footage is overwritten before anyone realizes it is needed.
Your security camera installation checklist should define how long recordings need to be retained, whether all cameras record continuously or only on motion, and what resolution and frame rate are truly necessary. A lobby camera may not need the same recording profile as a high-risk cash handling area or loading dock. Keeping every camera at maximum settings may sound safer, but it drives up storage costs quickly.
Retention needs vary by industry, internal policy, incident frequency, and insurance expectations. Some businesses need a shorter archive because footage is reviewed quickly. Others need longer retention for compliance or investigative reasons. There is no universal correct number, which is exactly why the decision should be made up front.
Access rules are just as important. Decide who can view live video, who can search footage, who can export clips, and how those permissions are controlled. If multiple managers, regional staff, or third-party operators need access, role-based permissions should be part of the design. The system should support accountability, not create confusion about who saw what and when.
Include lighting, analytics, and integration needs
A camera can only capture what the environment allows. Poor lighting, backlit entrances, and dark perimeters can limit even high-quality equipment. Your checklist should include a review of daytime and nighttime conditions at every key camera location.
This is also where advanced features should be evaluated realistically. AI-powered analytics, people counting, intrusion alerts, line crossing detection, and auto-tracking can be valuable, but only when they are matched to a real operational need. Not every site benefits from every feature. A warehouse with frequent after-hours perimeter activity may gain real value from intelligent alerts. A quiet office building may need simple, dependable video coverage more than advanced analytics.
Integration should also be considered early. If the site already uses access control, intercoms, alarms, or structured cabling infrastructure, the camera system should fit into that environment cleanly. A fragmented setup creates more vendor coordination, more troubleshooting, and more room for blame when issues happen. Commercial clients are usually better served by planning cameras as part of the broader low-voltage ecosystem.
Don’t ignore compliance, privacy, and installation quality
Commercial camera projects are not only technical. They also carry legal and operational responsibilities. Your checklist should account for site-specific privacy considerations, employee notification requirements where applicable, and any industry rules that affect recording practices.
Placement in sensitive areas should always be reviewed carefully. So should export procedures, footage retention, and how the system is secured against unauthorized access. Cybersecurity basics matter here as much as mounting hardware. Default credentials, open remote access, and poorly segmented networks can create avoidable risk.
Installation quality deserves its own review point. Clean cable management, weather-protected exterior terminations, properly sealed penetrations, accurate labeling, and tested camera views are not cosmetic details. They are part of long-term reliability. A licensed, bonded, and insured commercial installer brings value here because the work affects both performance and liability.
Before sign-off, the system should be tested in real conditions. That means daytime and nighttime verification, export testing, remote access confirmation, user permission review, and camera angle adjustments after furniture, shelving, or traffic patterns are finalized. A system that looks complete on install day may still need tuning once the site returns to normal operations.
A final checkpoint before you move forward
The best security camera systems are not built from a parts list. They are built from a clear understanding of your property, your risks, your infrastructure, and the way your business runs every day. If your checklist reveals uncertainty around coverage, cabling, retention, analytics, or integration, that is the right time to bring in a commercial specialist. Resource One Low Voltage Security works with businesses that need more than cameras on a wall – they need a system that protects the site, supports operations, and holds up over time. Don’t leave your commercial security to chance.